Interior fiberglass mesh is used to reinforce plaster, skim coat, and drywall joints against cracking caused by structural movement, temperature changes, and settling. When installed correctly, it prevents cracks from appearing in the finished wall surface. This guide walks contractors through the proper installation process for interior wall fiberglass mesh.
Step 1: Prepare the surface
The surface must be clean, dry, and free of dust, grease, and loose material. Any loose paint, crumbling plaster, or unsound patches must be removed and repaired before mesh goes on. The mesh reinforces the joint; it does not bridge a wide gap on its own. On plaster renovation, loose paint, crumbling plaster, and unsound patches must be stabilized before mesh goes on, and the surface should be cleaned of chalky or greasy residue that would interfere with adhesion.
Step 2: Cut and apply the mesh without stretching it
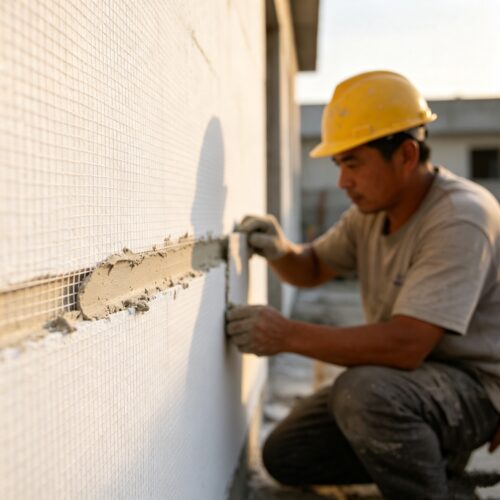
This is the step most installers get wrong. Cut the mesh to length and lay it flat onto the wet plaster or bonding coat. Do not pull the mesh taut while pressing it on — stretched mesh sits under tension, and once plaster goes over it, that tension can telegraph through as a slight ridge or contribute to cracking as the wall moves. Lay the mesh flat, smooth it down by hand or with a trowel, and let it sit at its natural length.
Inside corners need separate handling: press the mesh into the corner in two passes, one side at a time, rather than folding it across the angle in one motion.
Step 3: Embed the mesh fully into the bonding coat
Apply the bonding coat or base plaster over the seam, then press the mesh into it and work it fully through the mesh so the plaster bonds directly to the substrate underneath, not just to the top of the mesh. Feather the edges outward — progressively thinner as you move away from the joint — so the coat blends toward the surrounding wall instead of ending in a hard ridge.
Step 4: Overlap the edges, but do not stack layers
Adjacent mesh strips should overlap by a controlled amount to maintain continuity of reinforcement. The overlap should not be allowed to build into a thick stack in the same zone. Excessive overlap creates a ridge that telegraphs through the finish and can crack along its own boundary.
For interior plaster and skim coat, a minimum overlap of 50 mm is the practical standard. The key is continuity without buildup: overlap enough to connect the reinforcement, not so much that the joint becomes a high spot.
Step 5: Let the base coat set fully before recoating
Let the first coat cure completely before applying the next layer. Recoating while the first coat is still soft can disturb the mesh underneath or trap uncured plaster, which later shows up as a soft spot or a crack.
Once the first coat has fully cured, subsequent coats can be applied, widening the feather with each pass.
Step 6: Sand lightly, check under raking light, then prime
Sand just enough to knock down ridges and high spots. Avoid sanding hard enough to expose the mesh or the drywall paper’s fuzz; if either is exposed, a thin skim coat over that spot is the fix before continuing.
Before priming, check the seam under a work light held at a low angle across the wall. Raking light reveals ridges, depressions, and uneven feathering that overhead light hides completely. Fix what shows up before primer, not after paint.
The three mistakes that account for most mesh failures
- Mesh not fully embedded. If the mesh sits on top of the plaster instead of being pressed into it, it will delaminate and crack. The mesh must be fully worked into the bonding coat.
- Mesh applied under tension. Stretching the mesh during installation stores tension that telegraphs through the finish or contributes to cracking later.
- Overlap buildup. Stacking multiple mesh layers in the same zone creates a ridge that cannot feather out and can crack along its own boundary.
Our Interior Fiberglass Mesh
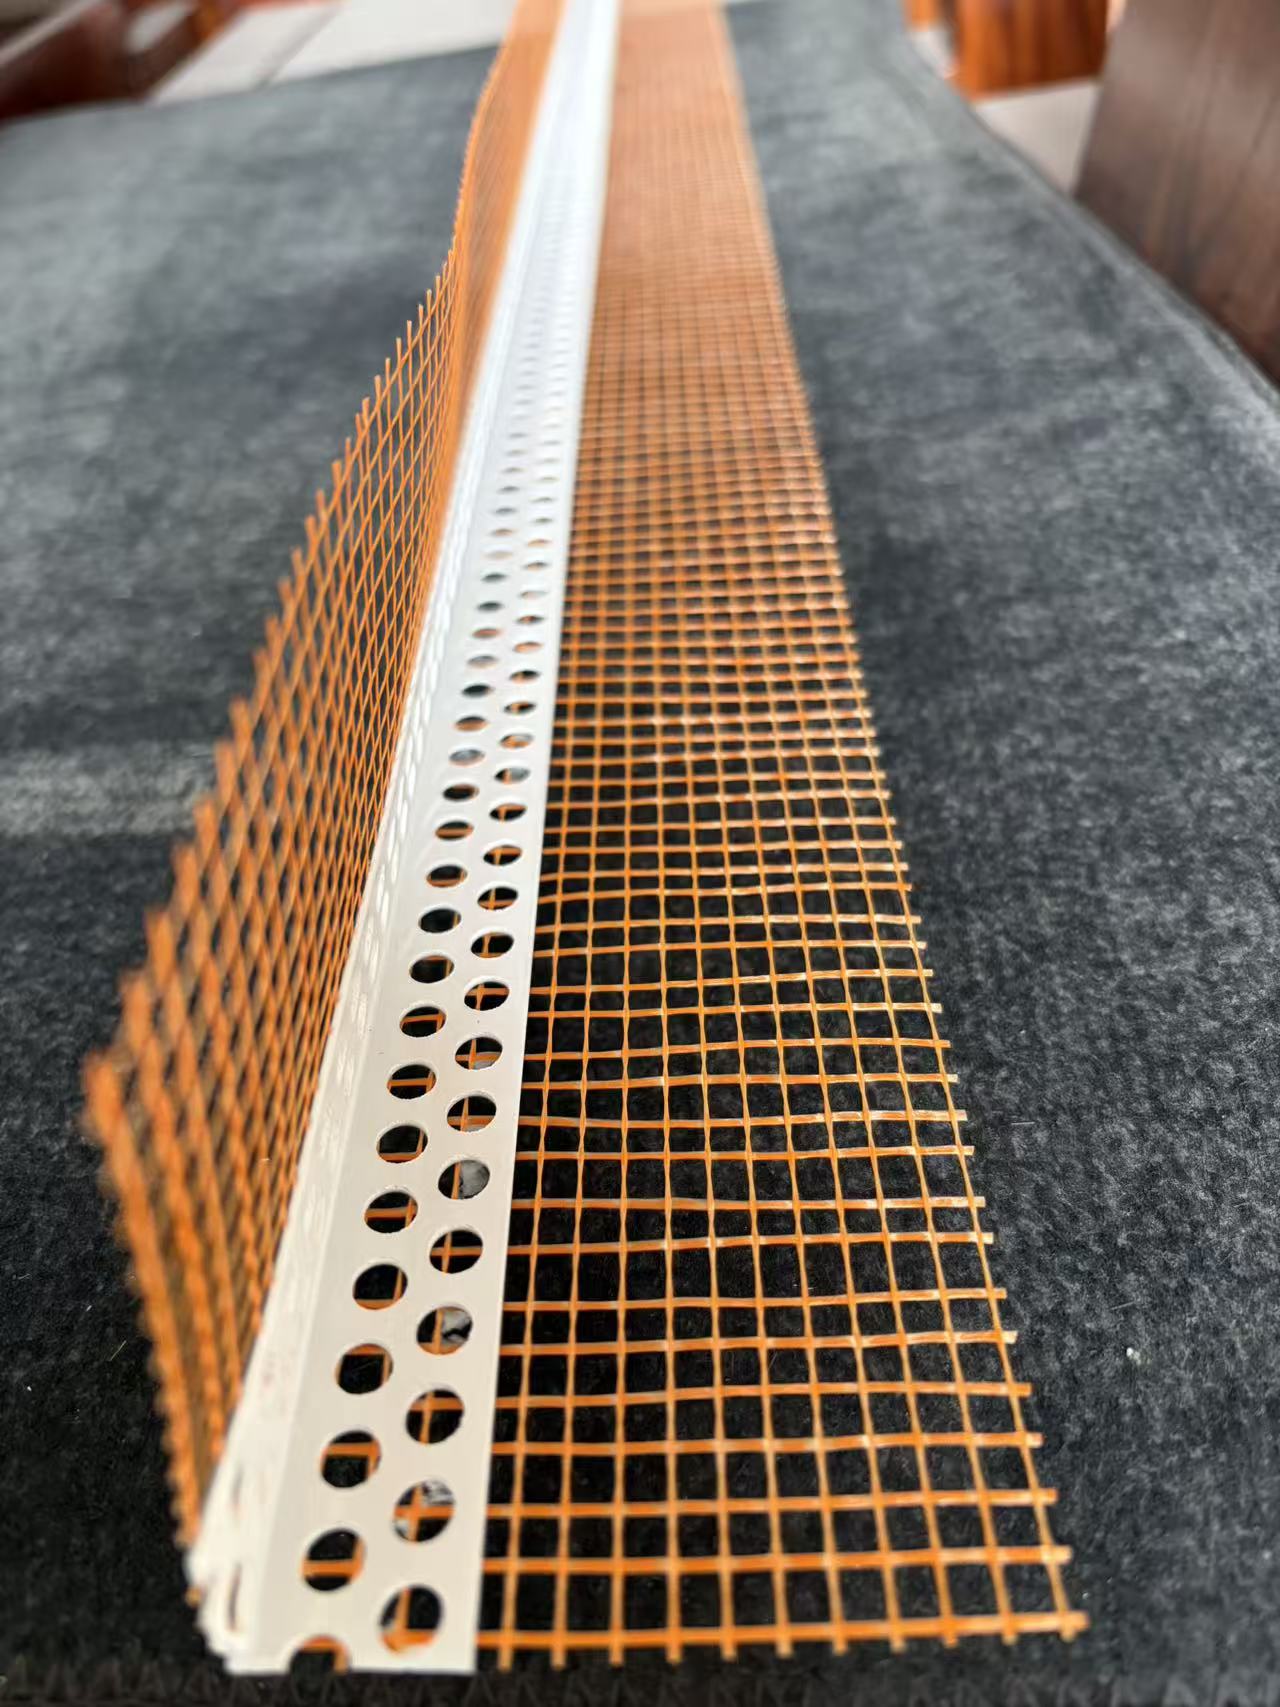
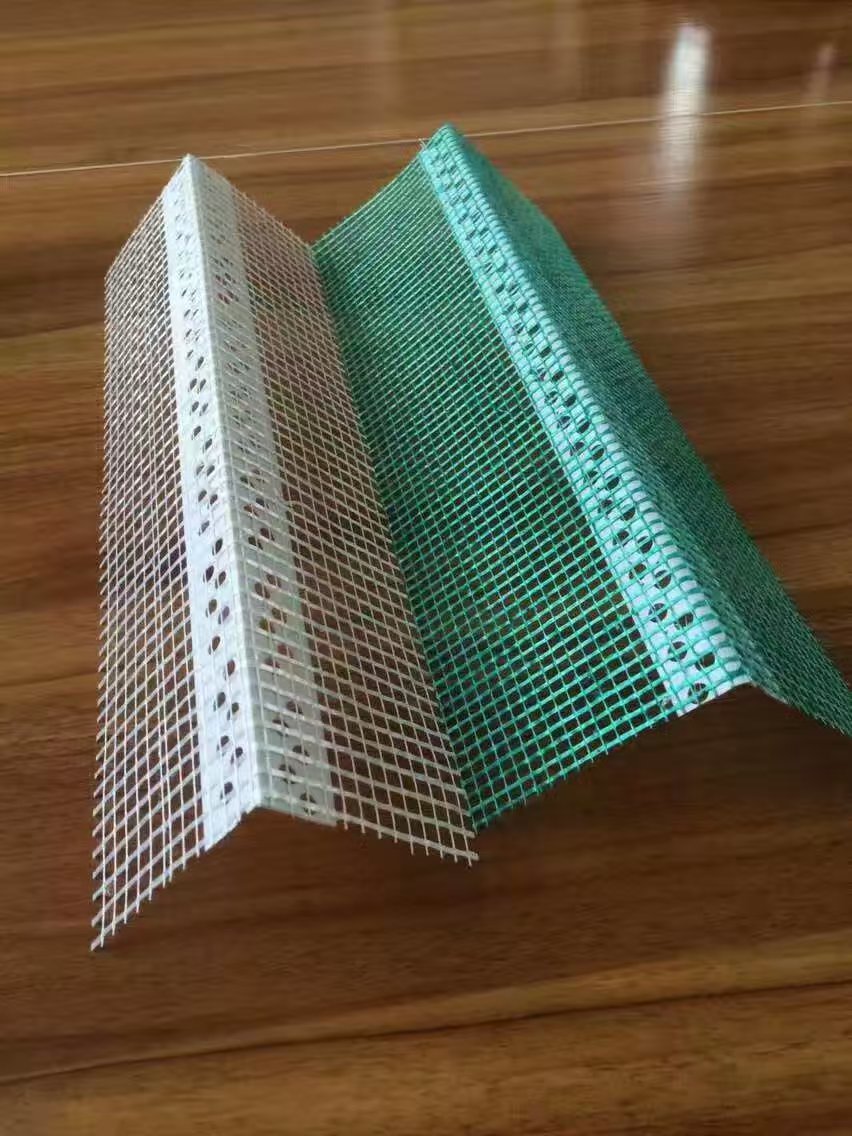
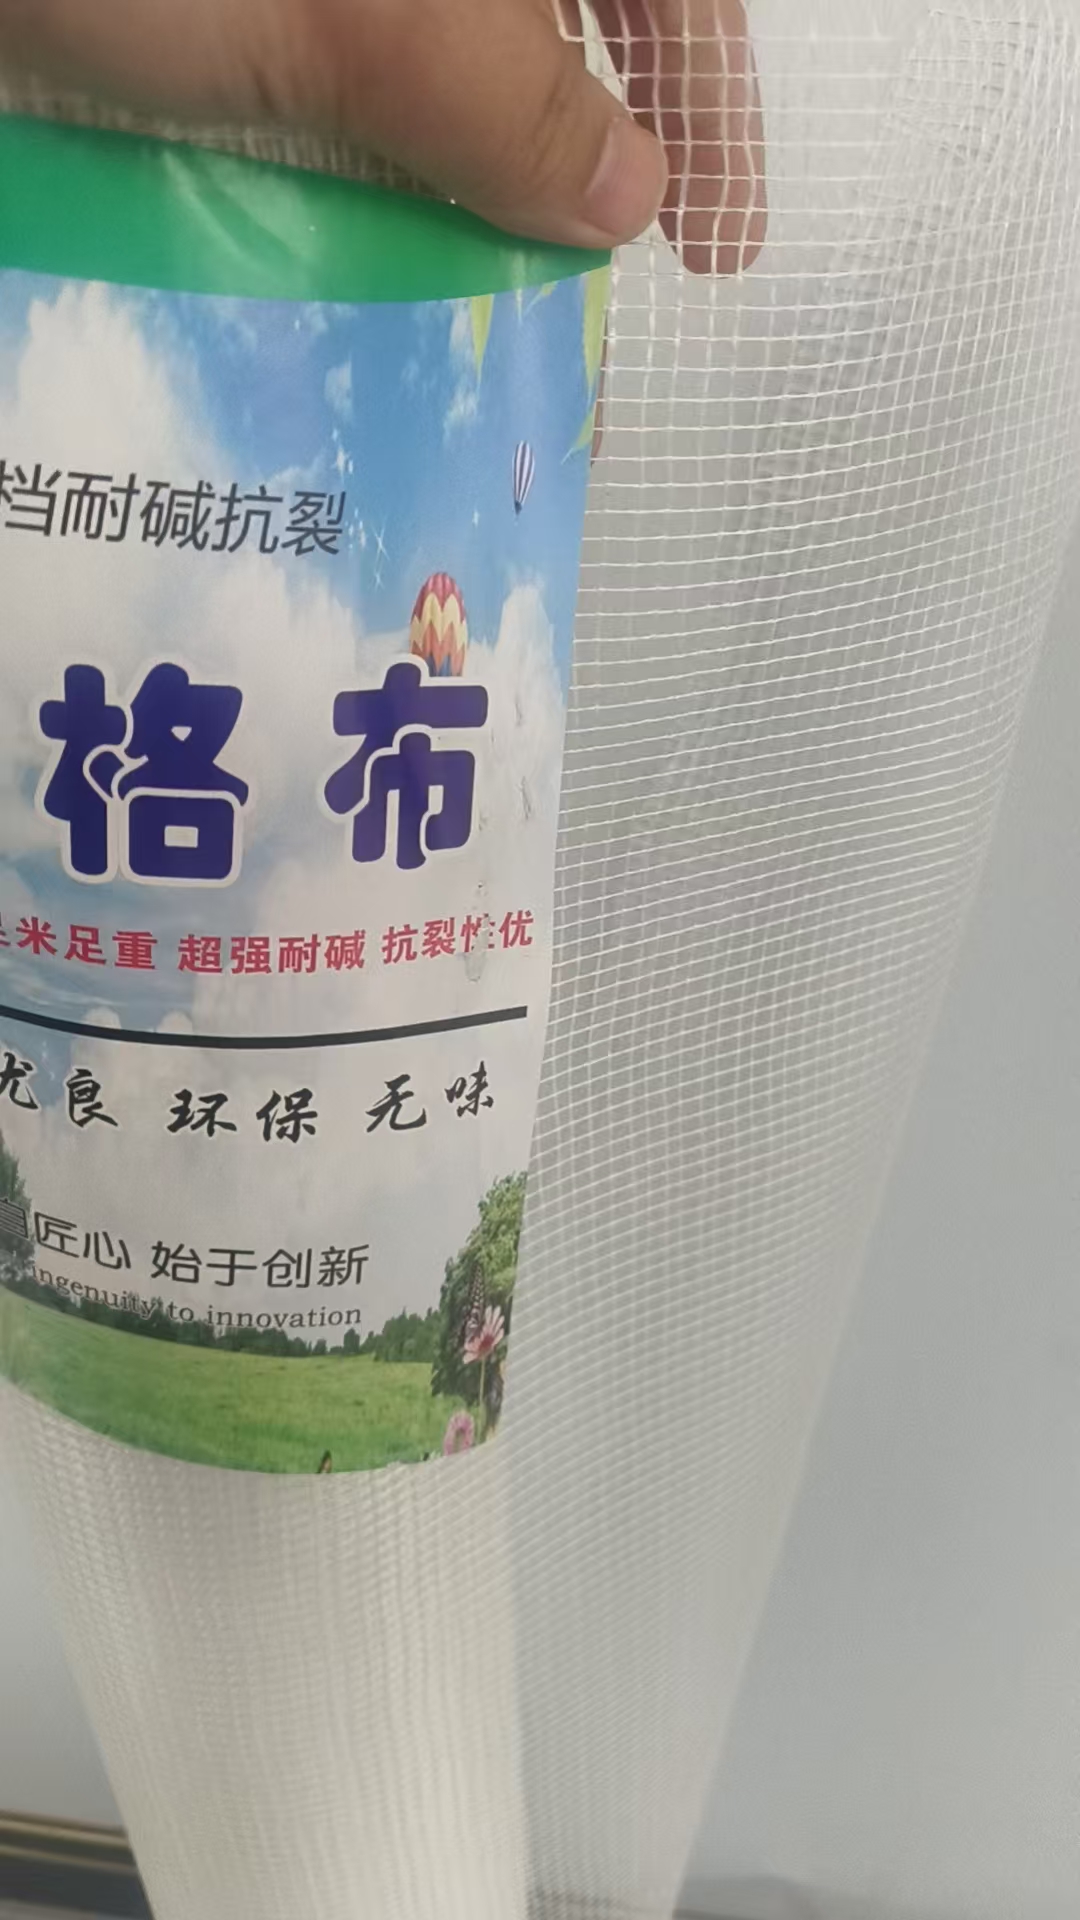
Our interior wall fiberglass mesh is produced with controlled tensile strength, clean-cut edges, and a 5×5 mm open grid that allows plaster to key through consistently. Available in 80, 100, and 120 g/m², 1 meter width, and 50 m or 100 m rolls. If you are specifying mesh for a contracting operation or distributing into a market, send us your target GSM, roll width, and length for a specification match.
Need interior wall fiberglass mesh? Yuechen is a factory direct supplier in Renqiu, China. Contact us for price.